


I really wanted to paint the wall behind my desk that has all the book shelves. However, I wasn't too excited about moving everything. Plus, I knew I'd have to go buy more paint. But then I got thinking that I'd just start with two walls and see what I thought before moving too much furniture. I give piano lessons in my office, so I wanted to inspire my students as well.
As I show you the project, I'll include some painting tutorial that might help you on your next painting project. So many people are afraid of paint. Don't be! It's the easiest and cheapest way to make a big difference in a space.
I started with cutting in, which is the process of painting the top and bottom edges with a brush, as well as around all of the trim on doors. When I cut in, I don't tape off or use special edgers. Those things just end up smudging anyway. I use a good brush with a chiseled edge and keep a damp rag on hand to immediately wipe away and boo-boos. For beginners, it's best to use a brand new brush.

The trick to getting a nice edge along trim is to load enough paint on your brush and then each time you dip your brush, you start the brush 1/2 inch to an inch away from the trim and then paint for an inch or two as you gradually move the brush closer to the trim. Keep going in long strokes not lifting the brush until it begins to run out of paint. Then dip again, back-track a few inches and start the brush away from the trim again.

Once that edge is established, you can go back and even out the streaks. If you use a darker color, it's likely you'll need a second coat, but you rarely need to get that close to the trim with the second coat. Speaking of dark colors, please raise your right hand and repeat after me, "I promise that I will not panic when I see the color I chose next to the white of my plain walls." Too many painters panic when they see this contrast as they are cutting in:

They retreat back to pastel land when they second guess their choice. Remember, you must see the entire wall painted before you get a really good idea of how the color will look. Those little test packets of paint can sometimes increase the panic level because people test them on light walls.
For my project, I decided to use a smaller roller than I normally use since I knew there would be so much painting around doors and cramped spaces. It takes more dipping, but I didn't have to manage a clumsy roller.

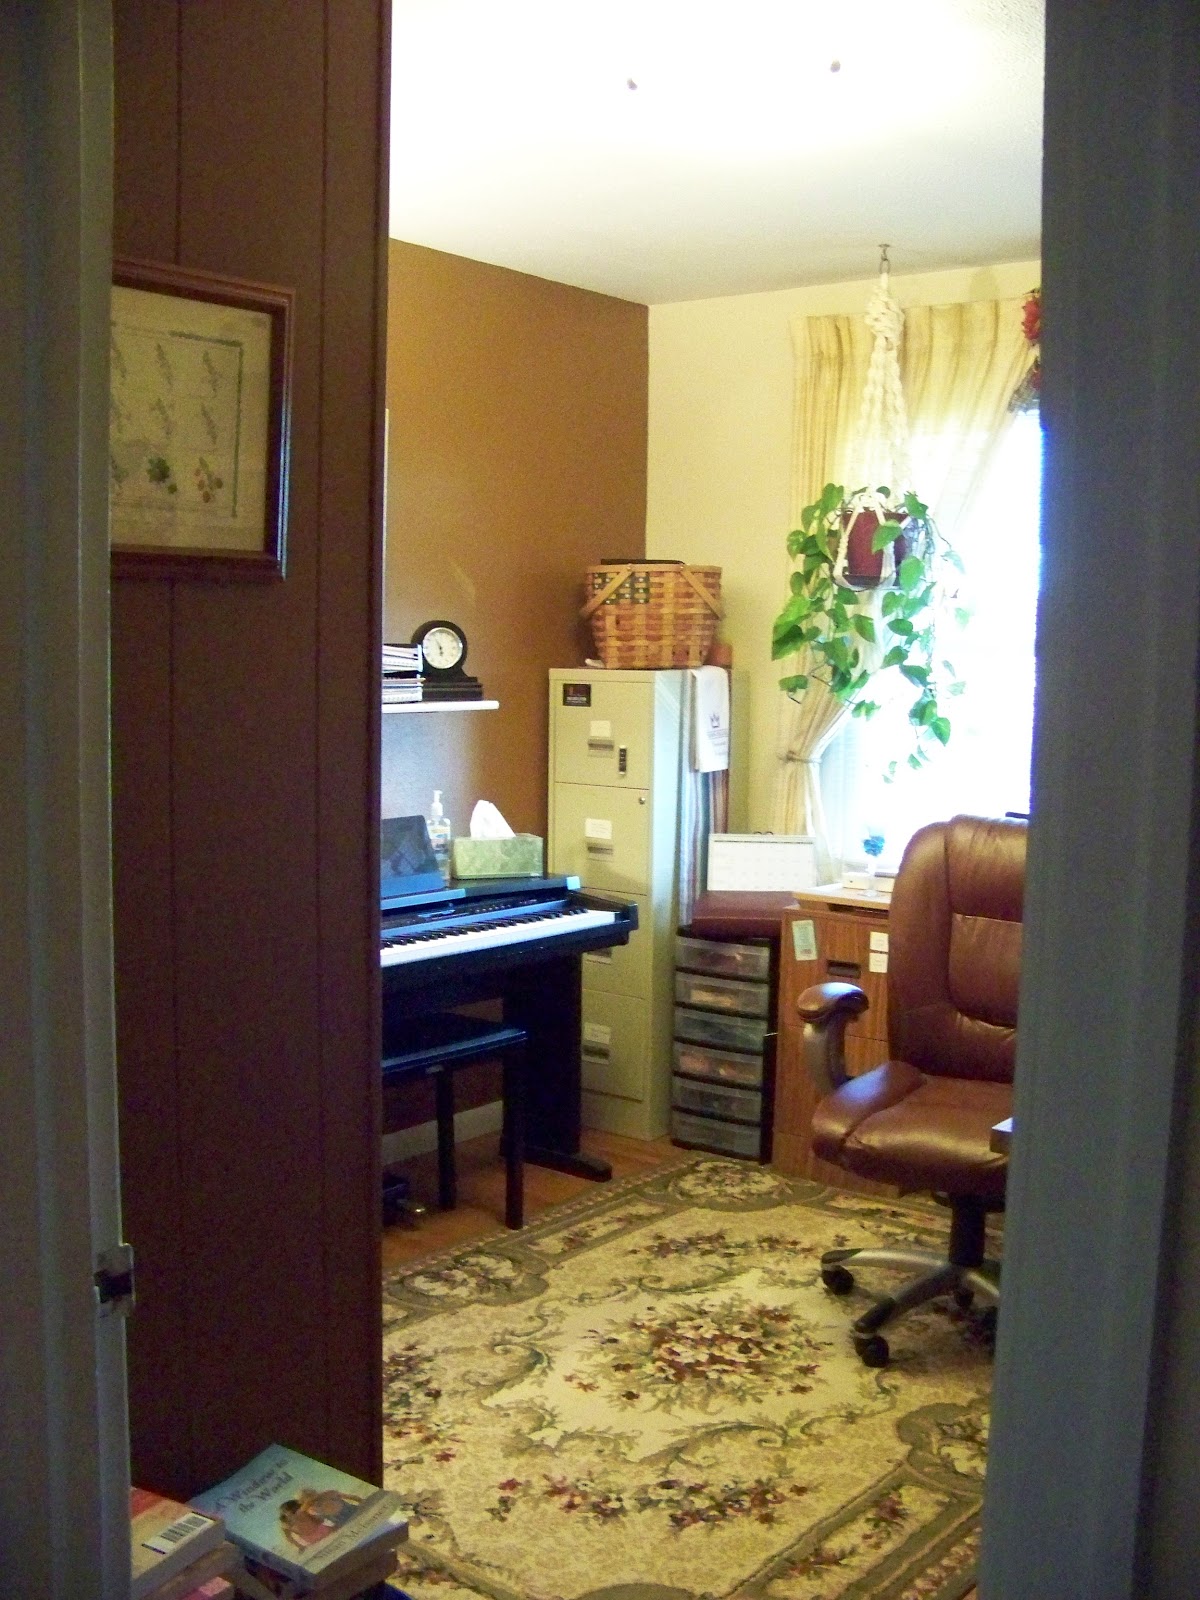
By the time I finished the two walls, I was nearly out of paint, so I had to make the decision- buy more paint, or stop with two walls. I decided that for right now, I'm happy with the two walls. I love how the color warmed up my space, yet while keeping two of the yellowish off-white walls, I kept some light in the space for cloudy days. I love it!


I like how it makes the piano look classy. I added one of my window designs above instead of the former artwork (which was also paintings I had done).

This week, I'll be showing two other projects related to my office spruce-up, so watch for those on WWYD Wednesday and Thrifty Thursday.
So, what do you want to paint? What's keeping you from taking the plunge and just doing it? Color choices? Fear over the technique? Time? I know you can do it!
I'm linking up this week to these great blogs:

Very nice! What a difference paint makes!
ReplyDeleteThank you for the info on "cutting in". I tried it and was able to repaint my entire living room and entry without using any tape....which always took too long and didn't give a clean edge where I wanted it anyway. Room looks great!
ReplyDelete