
t

Vintage Time Card Holder: What Would You Do With It?
I picked this up at a local school auction. In fact, I bought two of them. So, now I'm looking for creative ideas on wha

Vintage Window Addiction - One More
I have at least one, sometimes more, vintage windows in every room of my house. I guess I'm an addict. But when I finished the bedroom makeover and needed something over the bed, this one just seemed right there.


What Would You Do With This Blah Corner of the Bedroom?
When I did my bedroom makeover, there was this corner that I just didn't know what to do with. Yes. I am a writer and just ended that sentence with a preposition. I am waiting for the grammar police to come take me away.
The TV has to stay here. Maybe someday, we will afford a wall-mounted flat screen. Maybe some generous sponsor will send me a TV for review. Hah. But in the meantime, my husband likes having a TV here. So, I was trying to figure out what to do with this blah corner.


Transformation Tuesday - Desk Accessories Complete Makeover
When I did my desk makeover, I needed something for the wall. In my trash to treasure stash, I had some vintage windows that I had made into chalkboards. I decided one of those would be just the thing. So this blah space...

...became this.


Garland Turned Wreath - Quick Makeover Project
A friend gave me this garland for my birthday with the permission to upcycle it in whatever way I deemed best. I loved it just as it was, but didn't have the right place for it.
 But what I really did need was something to decorated these old skis. I had removed the sorry pine bough that was on it before because it was getting shabby.
 I twisted the garland into the shape of a circle. Then I used floral wire to hold it in place.
 Then, I hung it on the skis.
 A quick and easy makeover!


Retro Desk Transformation - Before and After
Prior to giving this desk a makeover, I planned to throw it away and replace it with something newer. After all, it didn't work for a computer at all, and it was old and SO beat up from belonging in my son's room during his growing up years. I also thought about listing it on Craigslist to give it away, but then when I didn't have the immediate funds to purchase a replacement, I considered a different plan. It's nice and solid, which leaned in favor of keeping it.
Here is what it looked like when I hauled it into the workroom:
 I love the size of the drawers and the pull-out work boards on the sides, but it was in awful shape. My parents purchased the desk years ago from a prison auction, and it had an intricate system for locking the drawers. I removed all of that hardware.
 My son built a lot of models at this desk. Thus, the paint all over the top.

I found a desk that totally inspired me on Pinterest, and used it as my inspiration. I had enough leftover paints on hand to complete the project, meaning it cost me nothing!
Here is the inspiration desk from Miss Mustard Seed.
 The top of my desk was a fake wood grain Formica, so I couldn't strip the wood. But I came up with a faux finish that worked for me. So, without further ado, here is my finished desk and the process I used.

 I cut out the framework around the drawers on the right side, and then installed a board in the bottom so that I had a place for the tower. Then, I primed everything with BIN 123 primer that works on glossy surfaces.
 I also took the saw to the middle drawer and cut away all but a little frame. This way, I had a place for the keyboard. My husband helped with doing the long cut on the table saw, and then I finished it with a hand saw on each side.
 When it was all finished, I knew the wall needed something. You'll see what I did on a future blog post.
 Seems like I always finish projects late at night, when picture-taking is bad and grainy.
 After painting the bluish parts and the off-white parts, I antiqued everything with glaze, and then used some sandpaper to rough up the corners on purpose.
 The top is a faux finish that has fake wood grain. I gave it all several coats of poly after the glaze finish.
 Random photo-bomb from the vacuum cleaner. At least you know I clean. Sometimes.
 I LOVE the pull-out sides.

 One final close-up of the finish. I spray-painted the existing hardware with an oil rubbed bronze finish. Again, it was the budget-friendly option, since I had the paint already. Recognize the blue color on the desk? I mixed leftover paint from my bedroom makeover with a lighter color to get this shade.

Here is what it looked like when I hauled it into the workroom:


I found a desk that totally inspired me on Pinterest, and used it as my inspiration. I had enough leftover paints on hand to complete the project, meaning it cost me nothing!
Here is the inspiration desk from Miss Mustard Seed.


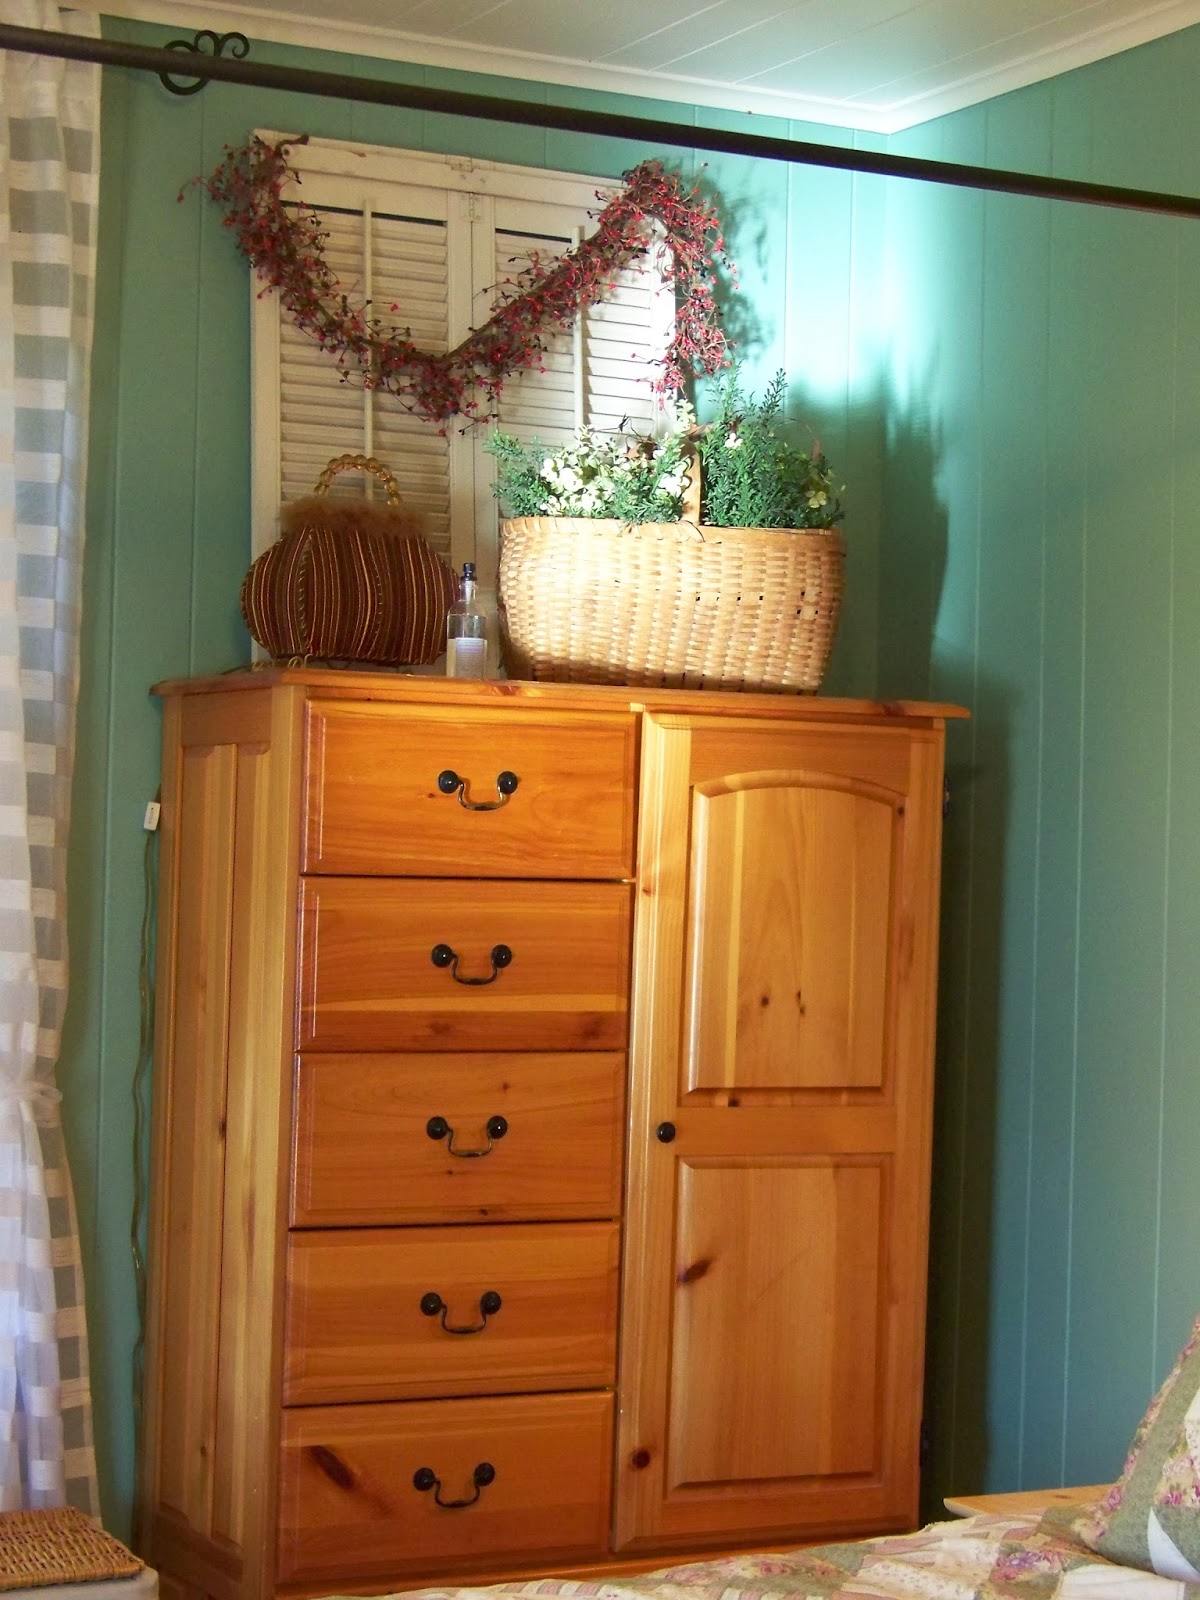
Transformation Tuesday: Paneled Bedroom Makeover
I've been busy with a lot of transformation projects lately, and it's time to share some with my readers. The biggest fall project has been transforming my son's bedroom into a new master bedroom on a shoestring budget. Our son left for college several years ago and seldom is home, so he took a smaller room, and we moved into his old room, which was considerably larger than our 11 foot by 11 foot room.
The room had one big problem. It was paneled on all surfaces, including the ceiling. We considered drywalling, but didn't really want to spend very much right now. We had already replaced the windows a few years ago, and the carpet as well. So, what I really needed was to figure out what to do with that paneling. I decided to just paint it, figuring that if we every have more money down the road, we could go the drywall route.
I primed everything with a good BIN 123 stain-blocking primer. I will talk about paint techniques in a future blog post, but for now, it's important to know that I gave the walls two coats of primer and two coats of paint.
Here is the room before, in its limbo state after my son moved out. It was sort of a guest room, but not an inviting one.


So, ready for the big reveal? I chose a retro color and went with an eclectic vintage look.


I love that we have enough space for two reading chairs!
I kept the original wooden blinds for the sake of budget and just added some cheap white sheers. The entire transformation with paint, new trim, and a new ceiling fan was right around $200. Not too bad.
Subscribe to:
Posts (Atom)