
I've been busy with a lot of transformation projects lately, and it's time to share some with my readers. The biggest fall project has been transforming my son's bedroom into a new master bedroom on a shoestring budget. Our son left for college several years ago and seldom is home, so he took a smaller room, and we moved into his old room, which was considerably larger than our 11 foot by 11 foot room.
The room had one big problem. It was paneled on all surfaces, including the ceiling. We considered drywalling, but didn't really want to spend very much right now. We had already replaced the windows a few years ago, and the carpet as well. So, what I really needed was to figure out what to do with that paneling. I decided to just paint it, figuring that if we every have more money down the road, we could go the drywall route.
I primed everything with a good BIN 123 stain-blocking primer. I will talk about paint techniques in a future blog post, but for now, it's important to know that I gave the walls two coats of primer and two coats of paint.
Here is the room before, in its limbo state after my son moved out. It was sort of a guest room, but not an inviting one.


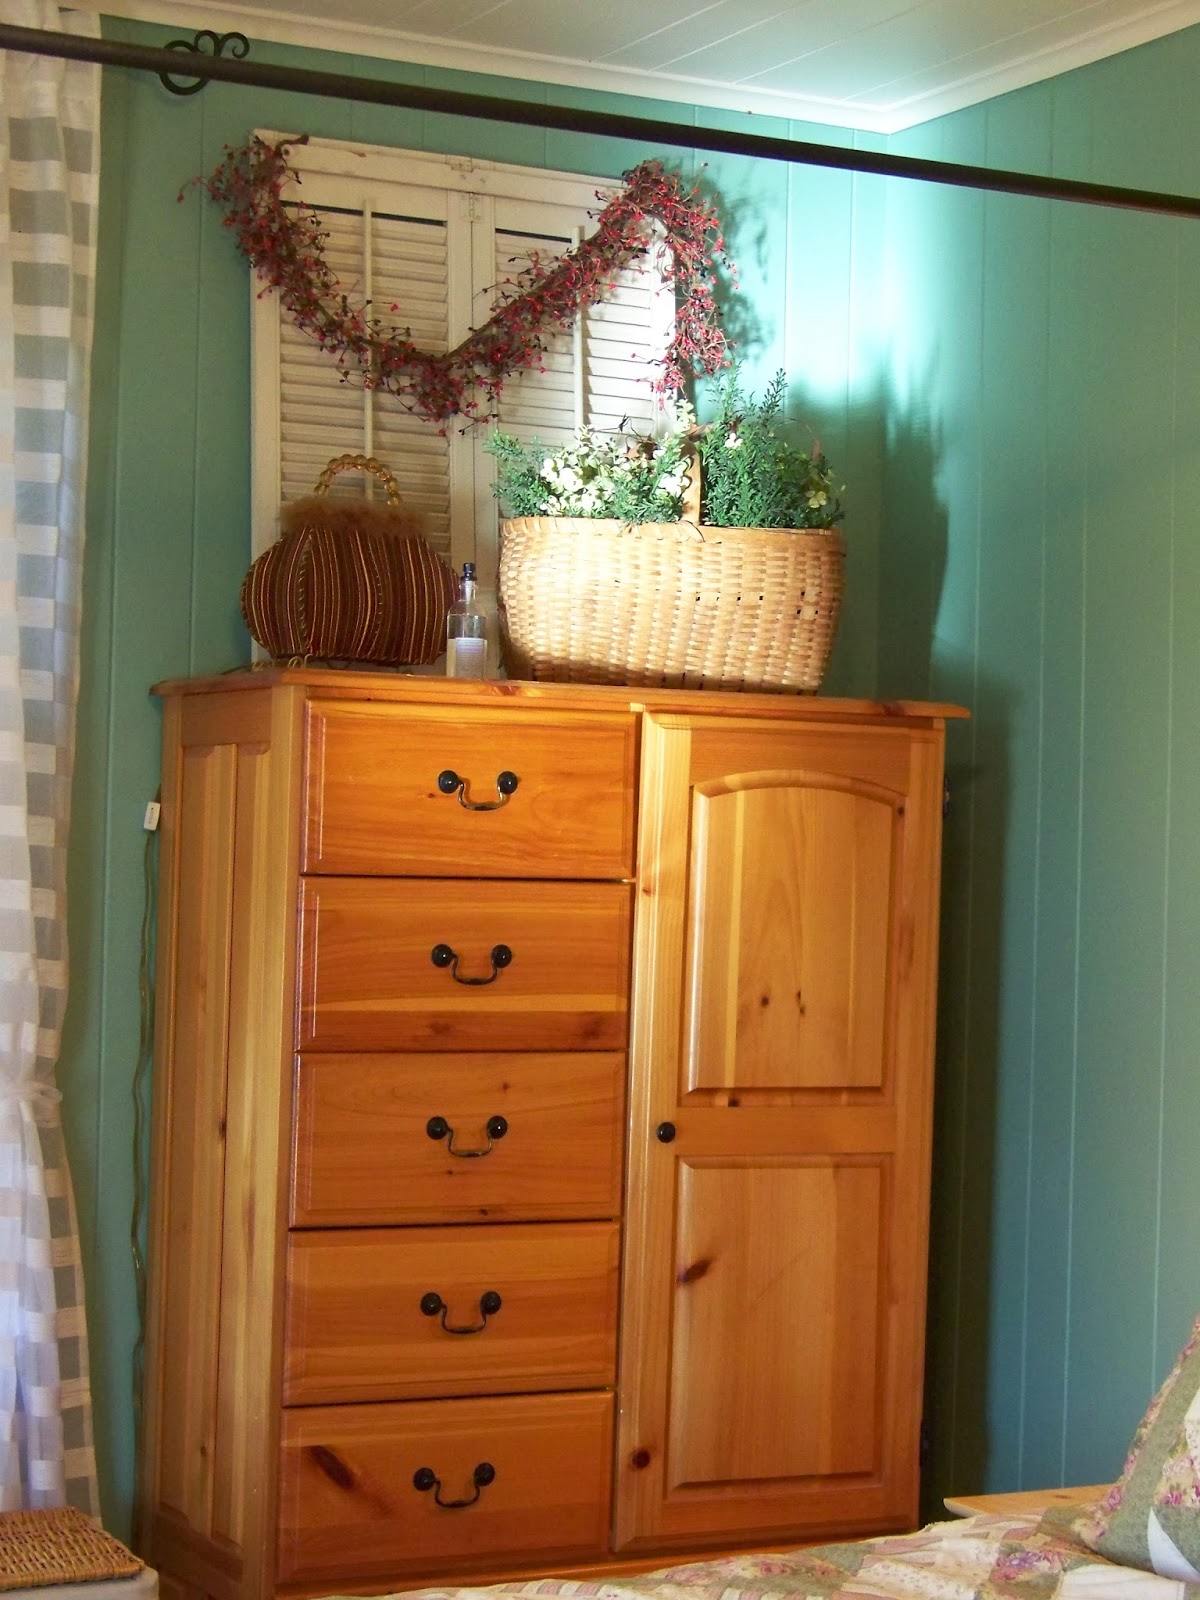
So, ready for the big reveal? I chose a retro color and went with an eclectic vintage look.


I love that we have enough space for two reading chairs!
I kept the original wooden blinds for the sake of budget and just added some cheap white sheers. The entire transformation with paint, new trim, and a new ceiling fan was right around $200. Not too bad.
very nice!!
ReplyDeleteA lot of the rooms in our church's educational unit are covered in that same wonderful paneling. Our women's group is bound and determined to start painting that paneling one of these days. I will let you know when that happens (and when we all get kicked out of church for desecrating the place).
ReplyDelete