Content from this blog now appears on www.michellerayburn.com

t

Cedar Chest: Before and After Transformation

For today's Thrifty Thursday project, I want to show you a cedar chest that I was able to transform for a very small cost.
The chest had a very worn surface, and was missing some veneer on the lower leg part.
I liked the texture of the trim and the detail work. But I knew that whether I painted it or removed the finish, I would lose some of the detail.
Because of the missing veneer, I decided painting would be the best finish.
And because of this damage too...
First, I primed everything with a bonding primer. I like Bin 123 latex primer, but Kilz and Bullseye work well too.

Then, I coated it all with latex satin paint in a pecan color.
 Then, using latex glaze, I mixed some of a darker brown paint with the glaze and streaked it on. I kept a rag handy to wipe excess off.

 Be sure to streak with the grain.
 And on the detail areas, wipe some off to show contrast.
When it's all done, I will coat it with a few layers of poly. That could be water or oil-based. I also like to coat with a layer of Minwax finishing wax when everything has cured. It gives it a smooth, nonsticky finish.
You can do as much or as little on the glaze as you wish. I haven't had a chance to do the poly yet, so I'll post a pic when that's complete.

I had all of the paints in my stash of leftovers, so the project cost me nothing but time.

Old Book Turned into a Pumpkin, Fall Decoration

Its What Would You Do (WWYD) Wednesday. What do you do with old books?

Recently, I spoke for a women's event and gave a presentation on trash to treasure decorating. Here's a shout out to the women at Cornerstone Church in the Twin Cities!

For a craft session, one creative gal taught us how to make a pumpkin from an old book. How fun!

This one is made from an old hymnal. First, we ripped off the covers. That felt naughty. Then we started cutting the pages. Even naughtier. I had to cut a few pages at a time, but here is the finished shape.
It doesn't really matter how perfectly identical your pages are, as long as they are sort of similar. Then, I roughed up the pages a little...meaning I sort of crumpled them a little. Then using an ink pad, I rubbed a little burnt orange ink on the edges of the pages. And colored the spine with brown marker to look like a stem.
 And when I stood it up and fanned it out, it looked like a pumpkin. I glued on two silk leaves at the top.
I decided to put it on a shelf and have just half a pumpkin. You could rough the pages more to make it full enough to bring the two edges together and make a whole pumpkin, or use two books put together. 
 I put it on the mantle shelf.
What a fun trash to treasure project for fall! With different sizes of books, you can make all sizes of pumpkins. And at my class, some of the ladies spray-painted theirs with a light mist of orange spray paint to make them more festive. I decided I liked mine more white. If you cut them right, you could probably make apples from smaller books too.

What else have you done with an old book? Feel free to leave a link to your blog post about a T2T project with old books with the link gadget below. 

Transformation Tuesday: Lamp Makeover

Remember the What Would You Do Wednesday question a while back about the hanging lamp? I finally got around to doing something with it.
My friend wanted help giving it a makeover, but the stipulation was that it had to stay a lamp. There were very good reasons for why she wanted to honor her mother-in-law for thinking of her in picking it up at a yard sale for her, but she also wanted to make it into something she liked. My job was to come up with something that would make her fall in love with it.

I tried stripping the paint to see what was under it, but it did nothing but create some rust. Maybe the solution was too old, as it was in my basement for years. Either way, I washed it off and decided to paint it in a oil rubbed bronze (ORB) finish. I had some ORB spray paint, but not enough, so I coated it in Rustoleum black. Then I gave it a spritz of copper paint all over, and finally a thin coat of the ORB. This stretched my on-hand materials farther. 

I stuffed some paper in the light sockets to keep paint out of them. Then, I poked some office supply fastener clips into a cardboard box and painted them with the spray pain too. 
Now, for what I planned to do with these supplies.I printed some 4x6 photos onto laser transparency film. It's just from the office supply store. I have a color laser printer, and knowing that the laser film can withstand the head of laser printing, I thought it would be perfect. I trimmed the photos down to 3x6 because this would fit over each opening in the lamp. The lamp has holes in the metal on surrounding the opening, so I got the idea to punch holes in the printed pictures and then fasten them to the lamp with the office fasteners (you know, the kind with the little metal wings you bend outward on the back). 
 I hung up the lamp and turned it on for a while to test it and see that the projector film doesn't get too hot. No problem. All of the heat of the lamp goes out the top. 
 Here is a back side view of the fastener clips.

 Here is a close-up of how the fastener clips look on the outside. 
 It kind of has a neat effect of projecting the pictures onto the wall. 
 I chose pictures I knew would be special to my friend. Her soldier son, her first grandchild, the other children, her husband, and both of their mothers. 
Thing is, the lamp still isn't outstanding. There's only so much one can do. But my friend choked up when she saw it, and said she loves it. I think it's because it has all of the people she loves on it. The best part is that the photos can be changed out easily down the road. Or removed completely. 

Vintage Window Wedding Gift Personalized with Silhouette Cutter

For the gift for the bride and groom at the wedding I attended this past weekend, I decided to create a personalized trash to treasure gift. Since the wedding was full of T2T decorations and I know the bride well, I knew that it would fit her style.

So, how did I make it?

I used an old window (from my own house) and painted the bottom half with chalkboard paint. Then, on the top half, I decoupaged scrapbook paper onto the back side. 

Using my Silhouette cutter, I created the vinyl letters in two different colors. A Silhouette machine allows you to create a custom design on your computer and then cut it. I create the design with all of the layers, then slid the white words off to the side of the screen while I cut the black lettering. Then I reversed it by sliding the black layer off and moved the white letters back on the page. By doing it this way, I could see exactly how the size of letters on the layers would fit. I applied first the white, then the black letters to the window. 

A Trash to Treasure Outdoor Wedding

This past weekend, I attended the wedding of two dear friends and I just have to share some photos of the creative decorations the bride made. The wedding and reception were held at the rustic camp where my husband works, the camp where the couple first met as children.

 A parking area becomes reception space. Guests carried their chairs from the ceremony site before dinner.
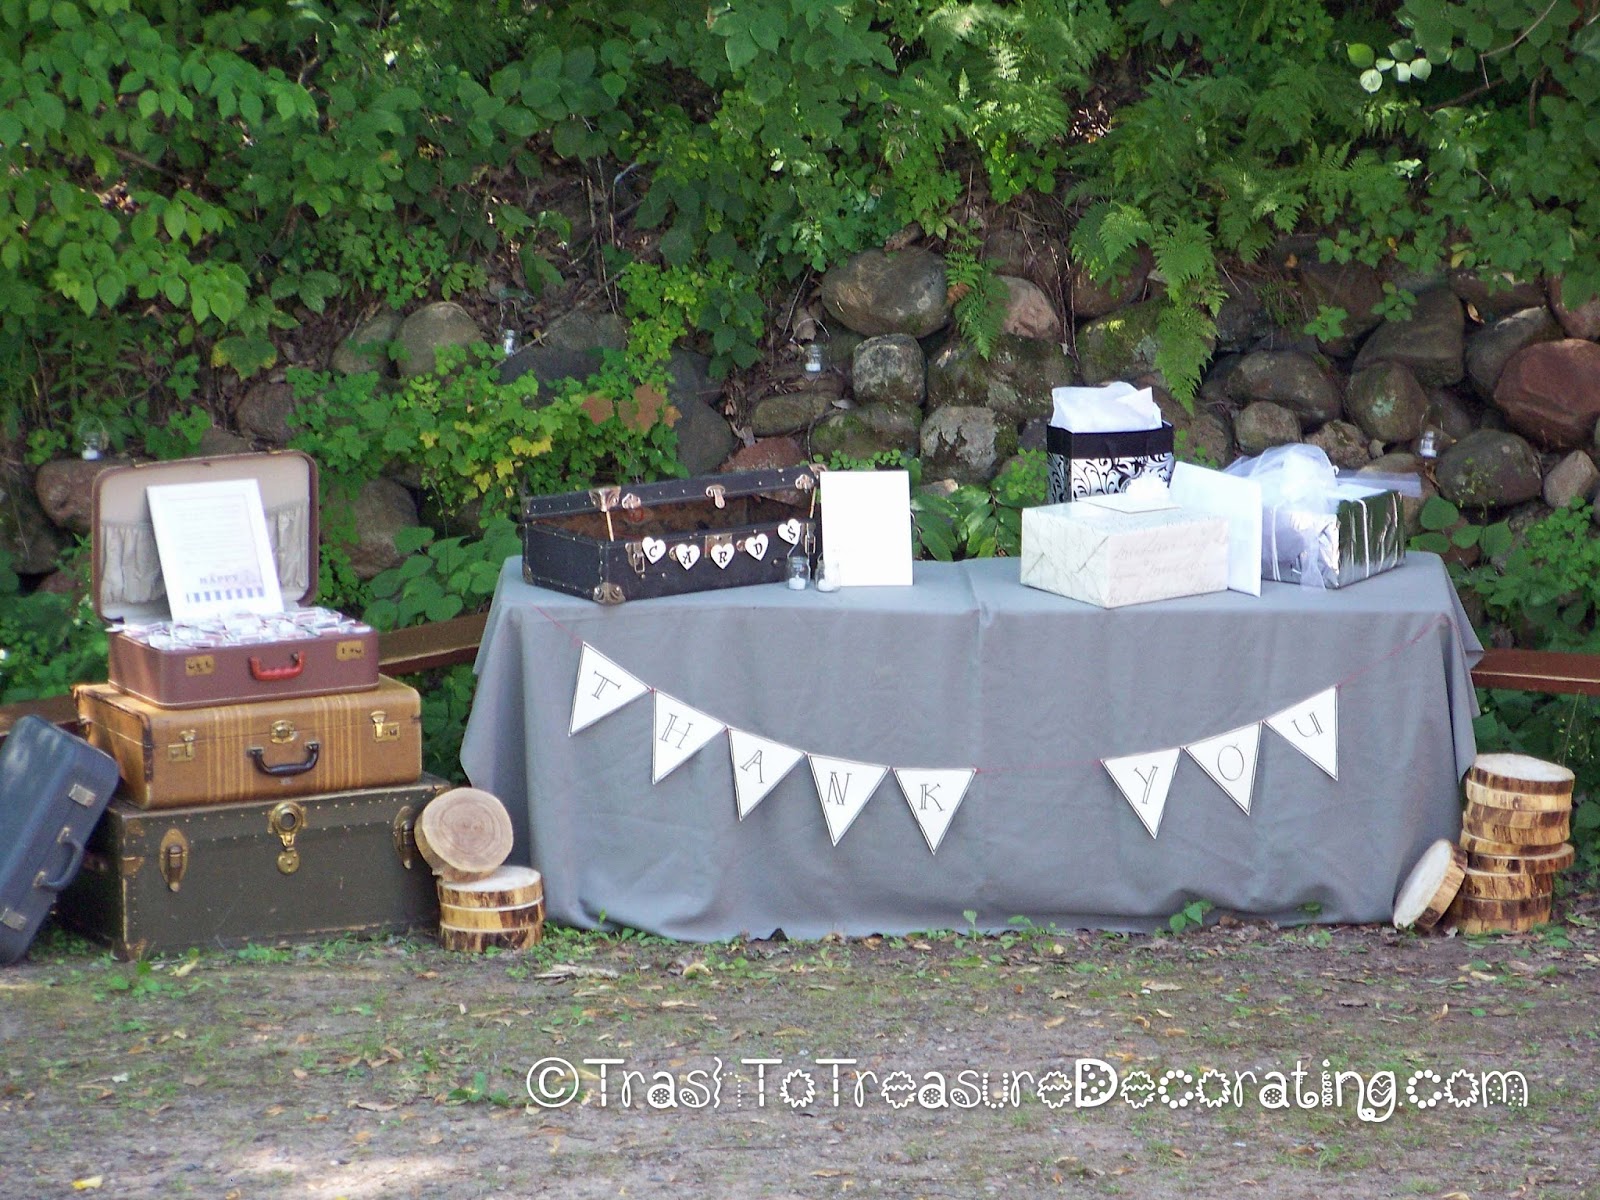
 Gift table and wedding favors.
 Book pages made a runner for some tables.


 Matchboxes and tealight candles. There was a special story the couple shared that inspired this favor.


 A memory window featuring everyone involved in the ceremony.
 The bride's and groom's family trees.


 The bride made a zillion of these flowers from ribbon melted in a flame. They were used in bouquets, corsages, boutonnieres, and table decorations. 
Paper hearts camouflage the gameroom windows behind the head table.

Tirzah spent so many hours making all of these decorations for her wedding and I knew my readers would give them the applause they deserve. Tomorrow, I'll feature the trash to treasure inspired gift I made for the couple. 

The Dancing Goat Studio

While on vacation in Minnesota, I visited the Dancing Goat Studio in New London, MN. No, it isn't a dance studio. I'm less coordinated than a goat when it comes to that. It's an art studio where Kim W. makes some pretty fantastic trash to treasure stuff.

It's a sweet place to stop if you're in the area. It isn't open every day, though. I just happened to be passing through on a day it was open. You'll find the business hours posted on the Dancing Goat Studio page on Facebook. And, you'll want to stop by Kim's Dancing Goat Studio blog too. Well, I don't really know what you'll want to do, but I suggest you check it out and I suspect you'll agree with that previous sentence after you've been to the blog.

Check out the Facebook page for these and other fantastic photos from the Dancing Goat Studio.
Kim said it all started with her upcycled purses made from books. She has a whole area where customers can choose their book and fabric and Kim will custom make a purse. She does them mail order too!

There are many more pics to see on the Facebook page and the blog so go there. Sorry. That's bossy. Please go there?

Thanks Kim for letting me stop by the studio. I hope to come back again someday!

LinkWithin

Related Posts with Thumbnails