Content from this blog now appears on www.michellerayburn.com

t

Showing posts with label Transformation Tuesday. Show all posts

Transformation Tuesday - Desk Accessories Complete Makeover

When I did my desk makeover, I needed something for the wall. In my trash to treasure stash, I had some vintage windows that I had made into chalkboards. I decided one of those would be just the thing. So this blah space...
...became this.

 I accessorized the desk with some things I had around the house.
 This upcycled pencil container was a door prize from a recent speaking engagement. They had flowers in it when the coordinators graciously sent it home with me. I have repurposed the upcycled can. Grin.
 Next to be fixed up is that lamp shade. I got it at a yard sale with the lamp, and it badly needs help. 

 This is so much more attractive than what I used to have in the living room for a work area. Sort of blends in with the furniture now. I have owned the vintage chair for many years, and I love how it fits with the rest of the vignette. 


Transformation Tuesday: Paneled Bedroom Makeover

I've been busy with a lot of transformation projects lately, and it's time to share some with my readers. The biggest fall project has been transforming my son's bedroom into a new master bedroom on a shoestring budget. Our son left for college several years ago and seldom is home, so he took a smaller room, and we moved into his old room, which was considerably larger than our 11 foot by 11 foot room. 

The room had one big problem. It was paneled on all surfaces, including the ceiling. We considered drywalling, but didn't really want to spend very much right now. We had already replaced the windows a few years ago, and the carpet as well. So, what I really needed was to figure out what to do with that paneling. I decided to just paint it, figuring that if we every have more money down the road, we could go the drywall route. 

I primed everything with a good BIN 123 stain-blocking primer. I will talk about paint techniques in a future blog post, but for now, it's important to know that I gave the walls two coats of primer and two coats of paint.

Here is the room before, in its limbo state after my son moved out. It was sort of a guest room, but not an inviting one.


 Gotta love that paneling, huh? Yikes! It isn't the only room that came this way with my house.

So, ready for the big reveal? I chose a retro color and went with an eclectic vintage look.
 I have a quilt started (who knows when I will finish it) that will coordinate with the room color. For now, I had to use the old, not-so-matchy one.
 I created a little reading corner with wicker furniture I found at a yard sale.
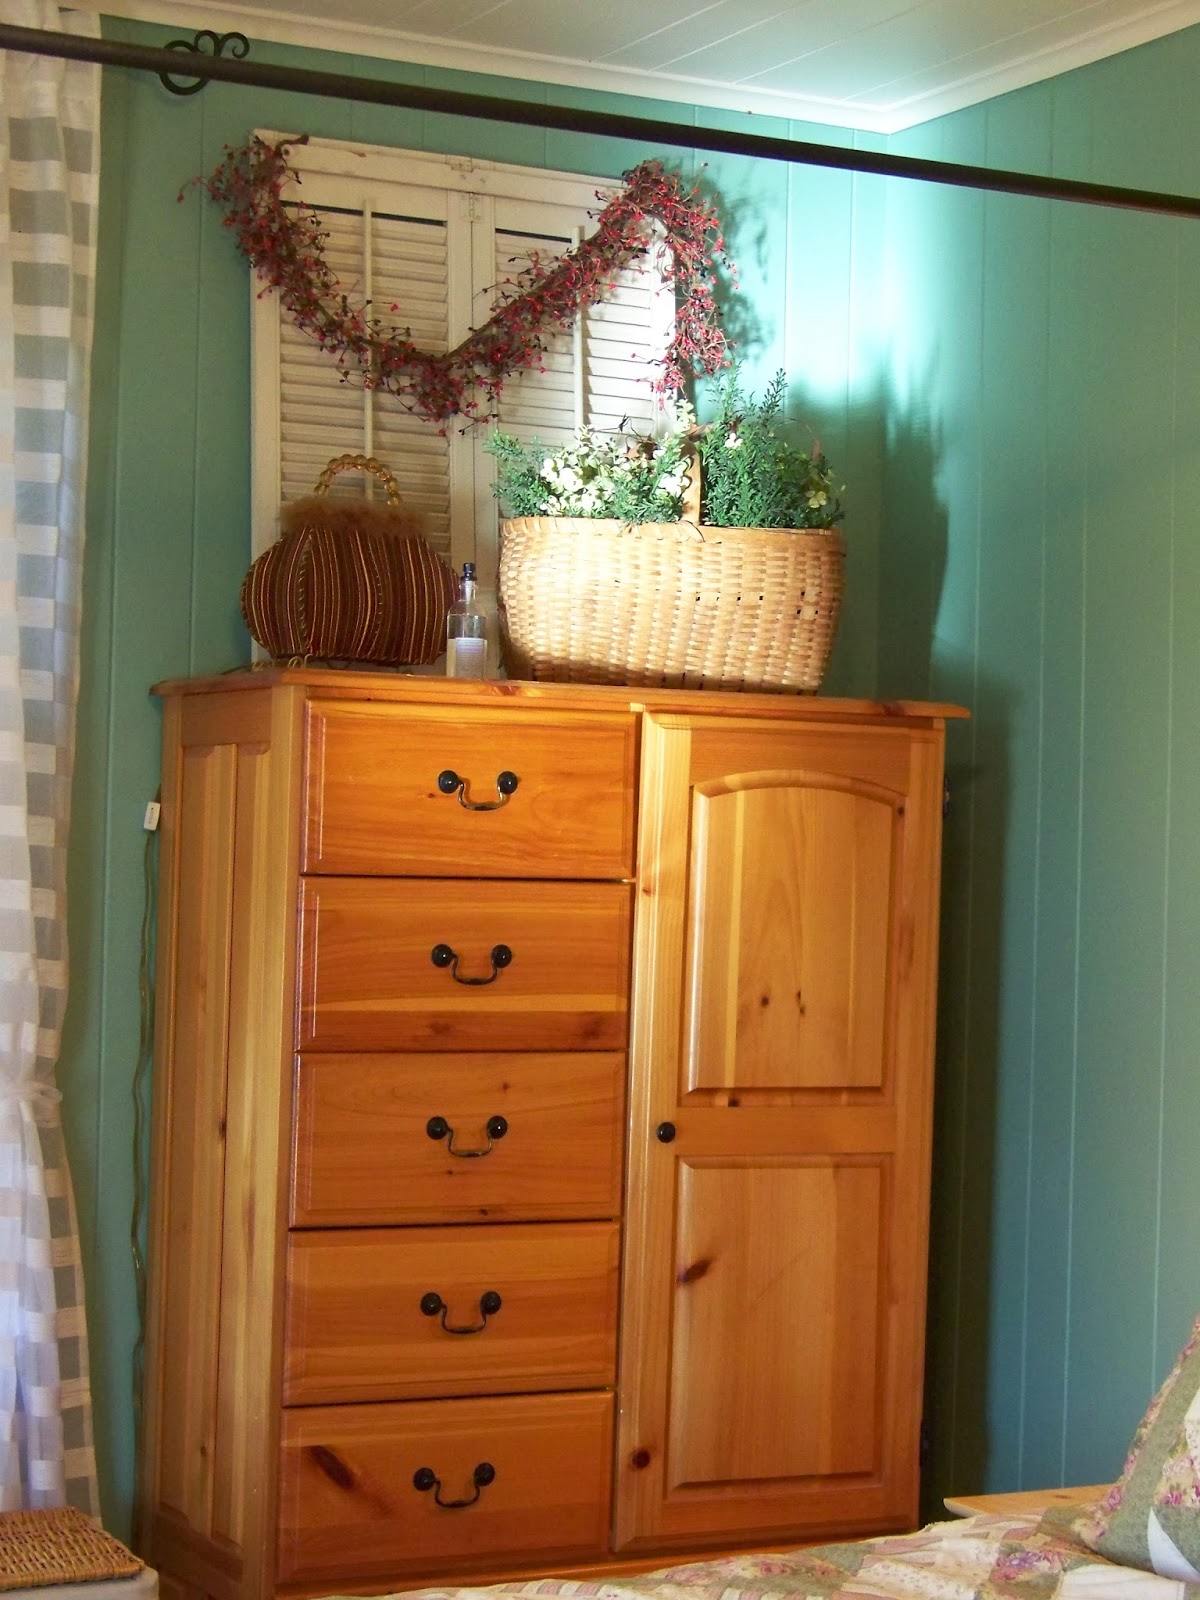
 Someday, maybe I will do something to this dresser. I bought the set years ago as kit furniture that we assembled. The pine is dated, but I can't bring myself to paint it.
The old French door hung sideways by the hinges is a repurposed project I did a while back. I panted chalkboard paint over the glass on the bottom and put paper behind the glass on the top.
 I bought some cheap nightstands off Amazon to have something with storage. They were lighter in color than I expected, but I can live with them for now. The totally ugly light switch that came with the room is going to go as soon as I get to the hardware store. And, unfortunately the ugly thermostat stays.
I love that we have enough space for two reading chairs! 

I kept the original wooden blinds for the sake of budget and just added some cheap white sheers. The entire transformation with paint, new trim, and a new ceiling fan was right around $200. Not too bad. 

Transformation Tuesday: Lamp Makeover

Remember the What Would You Do Wednesday question a while back about the hanging lamp? I finally got around to doing something with it.
My friend wanted help giving it a makeover, but the stipulation was that it had to stay a lamp. There were very good reasons for why she wanted to honor her mother-in-law for thinking of her in picking it up at a yard sale for her, but she also wanted to make it into something she liked. My job was to come up with something that would make her fall in love with it.

I tried stripping the paint to see what was under it, but it did nothing but create some rust. Maybe the solution was too old, as it was in my basement for years. Either way, I washed it off and decided to paint it in a oil rubbed bronze (ORB) finish. I had some ORB spray paint, but not enough, so I coated it in Rustoleum black. Then I gave it a spritz of copper paint all over, and finally a thin coat of the ORB. This stretched my on-hand materials farther. 

I stuffed some paper in the light sockets to keep paint out of them. Then, I poked some office supply fastener clips into a cardboard box and painted them with the spray pain too. 
Now, for what I planned to do with these supplies.I printed some 4x6 photos onto laser transparency film. It's just from the office supply store. I have a color laser printer, and knowing that the laser film can withstand the head of laser printing, I thought it would be perfect. I trimmed the photos down to 3x6 because this would fit over each opening in the lamp. The lamp has holes in the metal on surrounding the opening, so I got the idea to punch holes in the printed pictures and then fasten them to the lamp with the office fasteners (you know, the kind with the little metal wings you bend outward on the back). 
 I hung up the lamp and turned it on for a while to test it and see that the projector film doesn't get too hot. No problem. All of the heat of the lamp goes out the top. 
 Here is a back side view of the fastener clips.

 Here is a close-up of how the fastener clips look on the outside. 
 It kind of has a neat effect of projecting the pictures onto the wall. 
 I chose pictures I knew would be special to my friend. Her soldier son, her first grandchild, the other children, her husband, and both of their mothers. 
Thing is, the lamp still isn't outstanding. There's only so much one can do. But my friend choked up when she saw it, and said she loves it. I think it's because it has all of the people she loves on it. The best part is that the photos can be changed out easily down the road. Or removed completely. 

Upcycled Vintage Shutter - Seasonal Display Center

It's Transformation Tuesday and I've had this shutter that I picked up at the Apron Chick's Sale back in the spring. I hung it up on the wall as it was, waiting for inspiration to strike.
Some of you gave me some fantastic ideas on What Would You Do (WWYD) Wednesday a while back. Someone suggested a memo center and someone else suggested a photo display.

I tried out the photo idea first. I did sort of a fast version by printing some photos on my color laser printer to see if I liked it. My photos weren't quite the right size, but I liked the concept.
 For the clips, I just attached some scrapbook paper to office clips using 2-sided tape.
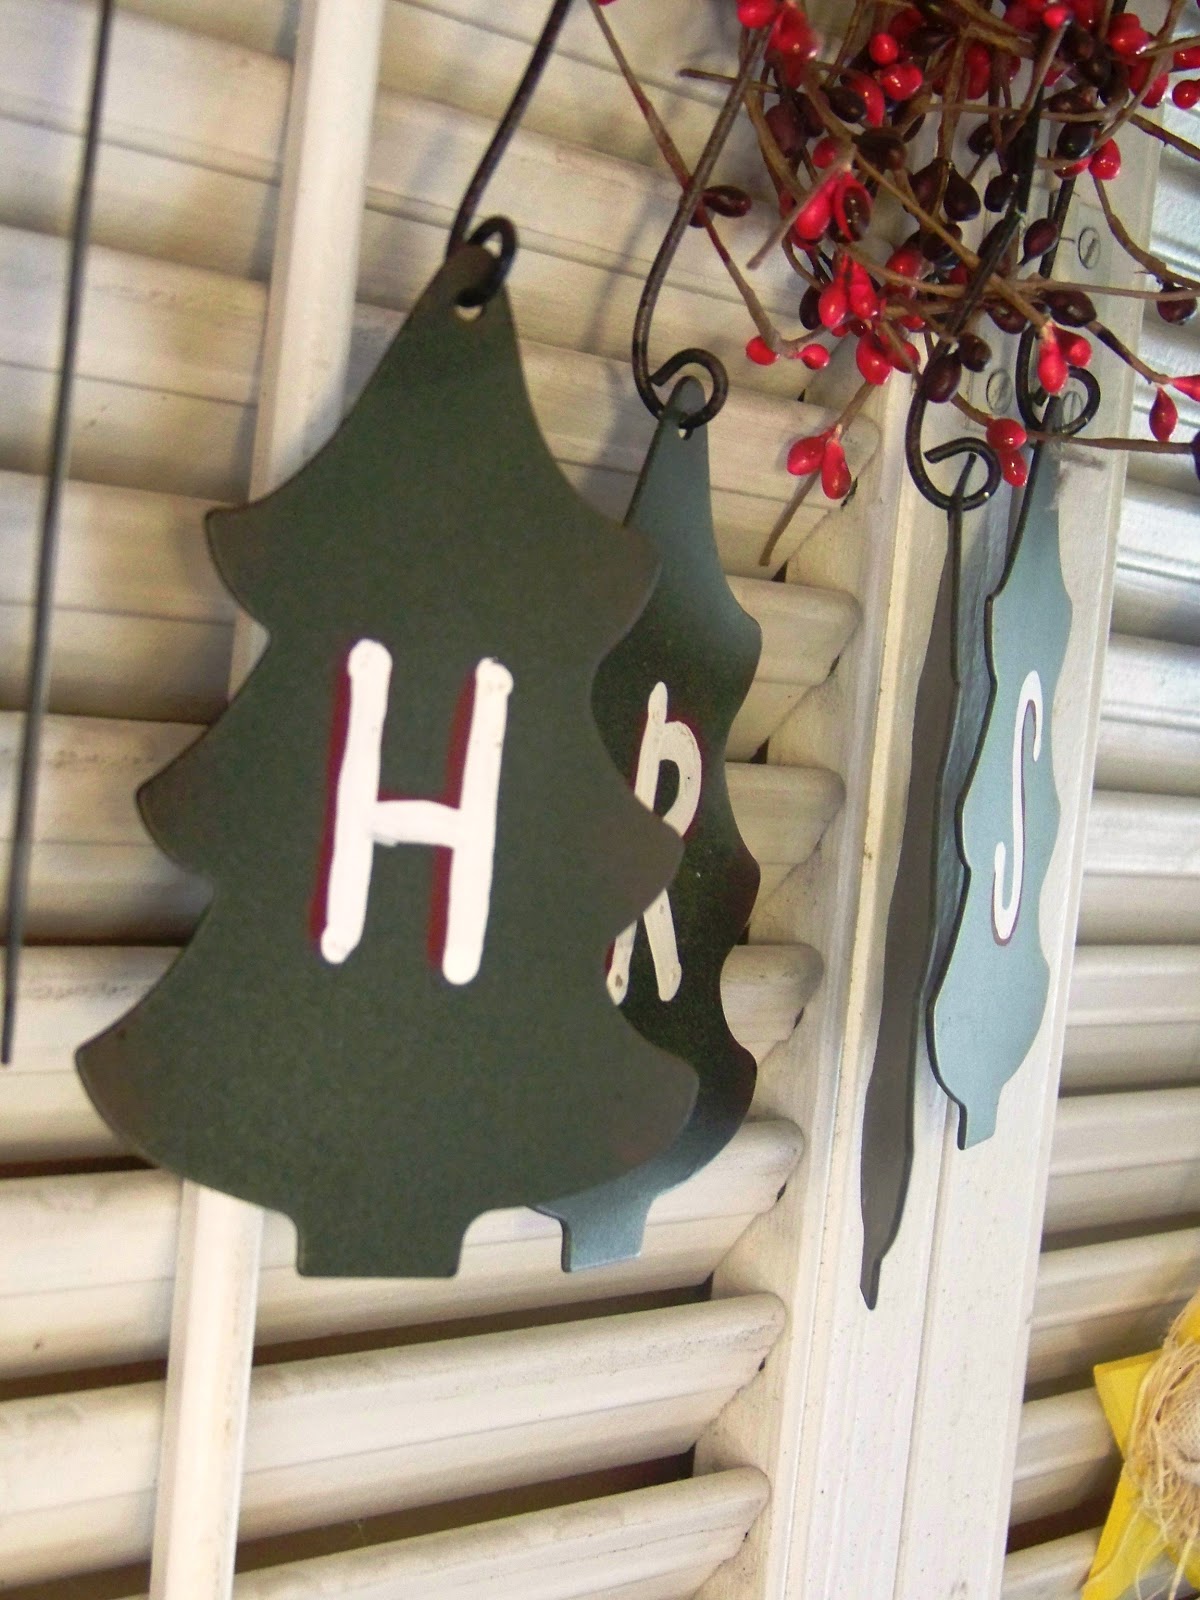
But then, Christmas came and I got to thinking how I'd like to decorate that shutter for Christmas since it's right in the middle of my living room. I had some metal Christmas trees that I had picked up at a yard sale. They had the letters on them, but they weren't very readable, so I went over them with white. Then, I borrowed a couple of ornaments from my stash.
 
 
I still need to do some adjusting, but this is my draft of the Christmas decoration. I'm thinking I'll try to come up with something seasonal to do on this after Christmas. Like maybe a snowman display. I could save a few snowman ornaments from the tree when I take it down in January and maybe come up with a different saying.

The berry garland was a yard sale find too. I doubt I'll keep it there forever, but it gave me a great place to hang the metal trees. 
It isn't a dramatic transformation, but I thought I'd share my progress. I'm always looking for additional ideas, so feel free to share.

Transformation Tuesday - Pallet Benches Part 2

I finally had some dry days to get the deck re-stained and the new benches coated for the first time. I love how it turned out! In case you missed the first post, the benches are made from pallets and my only investment was in the bench pads from Walmart (only $20 online, and much more in the store). The pads were exactly the width of the pallets, and just the right depth for the way the seats worked out with the pallets. 
I originally purchased pads for the back rest too, but then changed my mind when I decided it was just as comfortable without them. So I returned them and got a big pillow which will make a great arm rest, or napping spot.
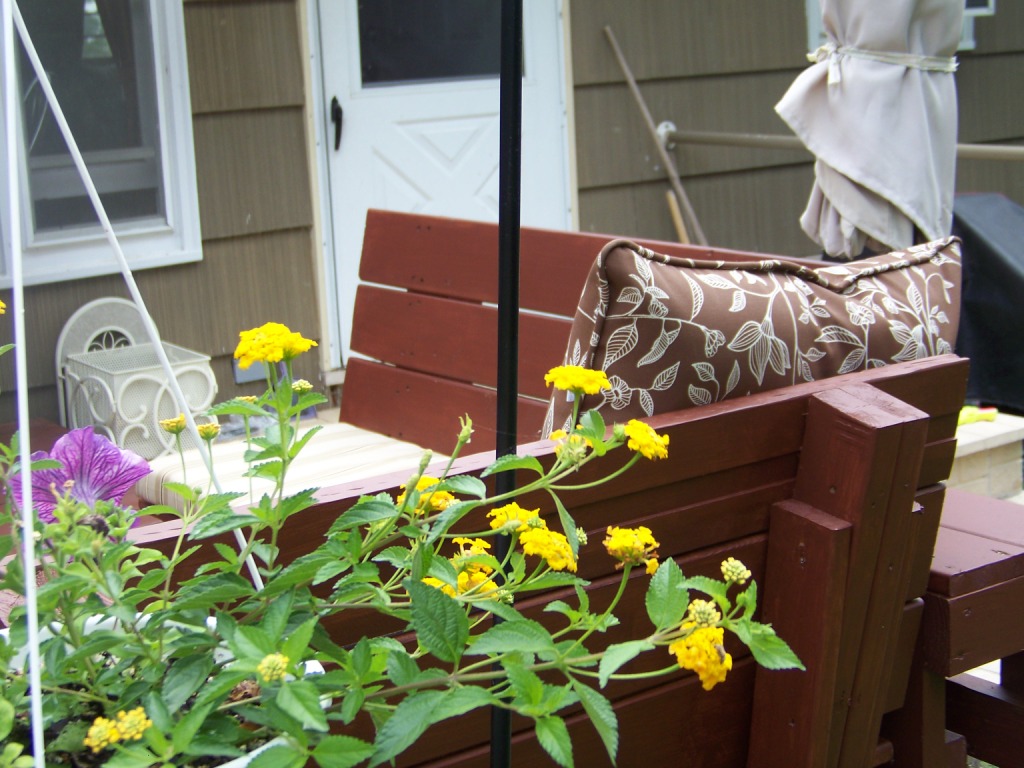
Here's a shot of what they look like from the back. Again, I'm sorry that this project just doesn't lend itself to a tutorial. Pallets are so different depending on where you get them, which means you have to design as you go.
We cut the pallets up and made one into the bench part and another into an upright (with just a little bit of an angle on the backrest). Then, we used additional pieces as supports to screw everything together.
 We stacked two pieces of pallet on top of each other to make them taller.
Here's a view from the yard. The rest of the deck is pretty low to the ground, but this corner was higher. So, the benches take the place of needing a railing.
 We added a little table in the corner where the two benches meet. Great place to set a book and a cup of coffee.
My husband added an extra pole for the patio umbrella on the side of the deck. I can have it over the seating, or attach the umbrella to the pole on the table on the deck. It's nice to move the shade around as needed.

These chairs also live on the deck. I bought them two years ago.
 And when I need to cover the pads for rain, I can fold the bench pads and put them under these rain covers from the other chairs. It makes for nice storage for my fabric pieces.
 Now, doesn't that beckon you to sit and relax? I'm so happy with the transformation. Total cost: $55 for the two cushions and the pillow.
It's my birthday present from my husband. :-)

Easy Office Storage - Transformation Tuesday

Today's transformation isn't much of a transformation, but I want to show you anyway. Last week, I showed you my closet door improvised desk. This week, I got to thinking how cluttered my desk is, despite my organizing. I wanted to do something about all the little stuff on top.
See what I mean?

I remembered that I had these plastic drawer bins from another project that didn't work out quite they way I had hoped. So, I decided to see if I could attach them somehow under the desk.
 By the way, these have decorative scrapbook paper in the fronts so that they look pretty. Plus, I had already spray painted them with plastic spray paint for the other project. They came in white when I bought them.

I removed the plastic drawers and screwed the plastic to the underside of my desk. I recommend using a screw and a washer to make the plastic hold up under pressure (the washer absorbs some strain on the screw).
 I put a couple of screws in each.
And then I filled it with my clutter.
Better! Um, except for the trash can that is so prominent in the picture. Sorry. Guess that's keepin' it real. Thank goodness I didn't zoom enough for you to see the dust bunnies!

LinkWithin

Related Posts with Thumbnails