Content from this blog now appears on www.michellerayburn.com

t

Transformation Tuesday - Desk Accessories Complete Makeover

When I did my desk makeover, I needed something for the wall. In my trash to treasure stash, I had some vintage windows that I had made into chalkboards. I decided one of those would be just the thing. So this blah space...
...became this.

 I accessorized the desk with some things I had around the house.
 This upcycled pencil container was a door prize from a recent speaking engagement. They had flowers in it when the coordinators graciously sent it home with me. I have repurposed the upcycled can. Grin.
 Next to be fixed up is that lamp shade. I got it at a yard sale with the lamp, and it badly needs help. 

 This is so much more attractive than what I used to have in the living room for a work area. Sort of blends in with the furniture now. I have owned the vintage chair for many years, and I love how it fits with the rest of the vignette. 


Garland Turned Wreath - Quick Makeover Project

A friend gave me this garland for my birthday with the permission to upcycle it in whatever way I deemed best. I loved it just as it was, but didn't have the right place for it.
But what I really did need was something to decorated these old skis. I had removed the sorry pine bough that was on it before because it was getting shabby.
 I twisted the garland into the shape of a circle. Then I used floral wire to hold it in place.
 Then, I hung it on the skis.
 A quick and easy makeover!

Retro Desk Transformation - Before and After

Prior to giving this desk a makeover, I planned to throw it away and replace it with something newer. After all, it didn't work for a computer at all, and it was old and SO beat up from belonging in my son's room during his growing up years. I also thought about listing it on Craigslist to give it away, but then when I didn't have the immediate funds to purchase a replacement, I considered a different plan. It's nice and solid, which leaned in favor of keeping it.

Here is what it looked like when I hauled it into the workroom:
 I love the size of the drawers and the pull-out work boards on the sides, but it was in awful shape. My parents purchased the desk years ago from a prison auction, and it had an intricate system for locking the drawers. I removed all of that hardware. 
 My son built a lot of models at this desk. Thus, the paint all over the top.


I found a desk that totally inspired me on Pinterest, and used it as my inspiration. I had enough leftover paints on hand to complete the project, meaning it cost me nothing!

Here is the inspiration desk from Miss Mustard Seed. 
The top of my desk was a fake wood grain Formica, so I couldn't strip the wood. But I came up with a faux finish that worked for me. So, without further ado, here is my finished desk and the process I used.

 I cut out the framework around the drawers on the right side, and then installed a board in the bottom so that I had a place for the tower. Then, I primed everything with BIN 123 primer that works on glossy surfaces.
 I also took the saw to the middle drawer and cut away all but a little frame. This way, I had a place for the keyboard. My husband helped with doing the long cut on the table saw, and then I finished it with a hand saw on each side.
 When it was all finished, I knew the wall needed something. You'll see what I did on a future blog post.
 Seems like I always finish projects late at night, when picture-taking is bad and grainy. 
 After painting the bluish parts and the off-white parts, I antiqued everything with glaze, and then used some sandpaper to rough up the corners on purpose.
 The top is a faux finish that has fake wood grain. I gave it all several coats of poly after the glaze finish.
 Random photo-bomb from the vacuum cleaner. At least you know I clean. Sometimes.
 I LOVE the pull-out sides. 

One final close-up of the finish. I spray-painted the existing hardware with an oil rubbed bronze finish. Again, it was the budget-friendly option, since I had the paint already. Recognize the blue color on the desk? I mixed leftover paint from my bedroom makeover with a lighter color to get this shade.

Transformation Tuesday: Paneled Bedroom Makeover

I've been busy with a lot of transformation projects lately, and it's time to share some with my readers. The biggest fall project has been transforming my son's bedroom into a new master bedroom on a shoestring budget. Our son left for college several years ago and seldom is home, so he took a smaller room, and we moved into his old room, which was considerably larger than our 11 foot by 11 foot room. 

The room had one big problem. It was paneled on all surfaces, including the ceiling. We considered drywalling, but didn't really want to spend very much right now. We had already replaced the windows a few years ago, and the carpet as well. So, what I really needed was to figure out what to do with that paneling. I decided to just paint it, figuring that if we every have more money down the road, we could go the drywall route. 

I primed everything with a good BIN 123 stain-blocking primer. I will talk about paint techniques in a future blog post, but for now, it's important to know that I gave the walls two coats of primer and two coats of paint.

Here is the room before, in its limbo state after my son moved out. It was sort of a guest room, but not an inviting one.


 Gotta love that paneling, huh? Yikes! It isn't the only room that came this way with my house.

So, ready for the big reveal? I chose a retro color and went with an eclectic vintage look.
 I have a quilt started (who knows when I will finish it) that will coordinate with the room color. For now, I had to use the old, not-so-matchy one.
 I created a little reading corner with wicker furniture I found at a yard sale.
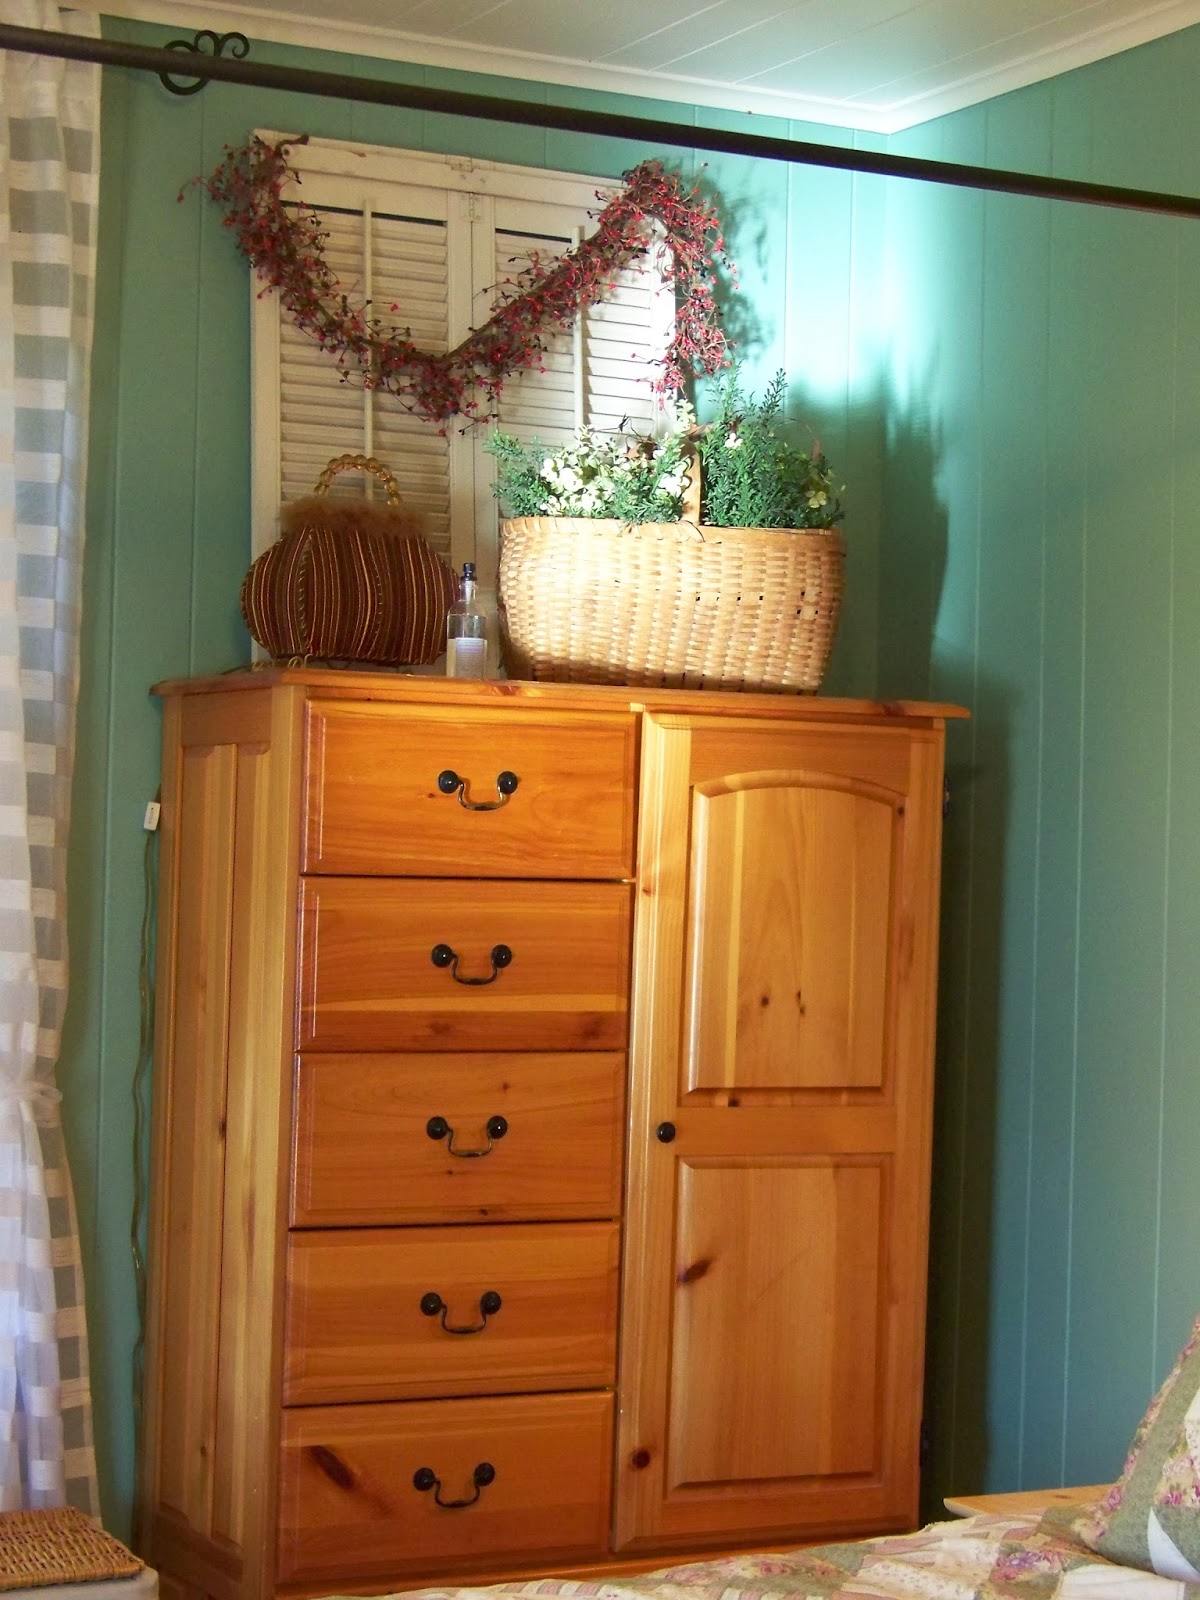
 Someday, maybe I will do something to this dresser. I bought the set years ago as kit furniture that we assembled. The pine is dated, but I can't bring myself to paint it.
The old French door hung sideways by the hinges is a repurposed project I did a while back. I panted chalkboard paint over the glass on the bottom and put paper behind the glass on the top.
 I bought some cheap nightstands off Amazon to have something with storage. They were lighter in color than I expected, but I can live with them for now. The totally ugly light switch that came with the room is going to go as soon as I get to the hardware store. And, unfortunately the ugly thermostat stays.
I love that we have enough space for two reading chairs! 

I kept the original wooden blinds for the sake of budget and just added some cheap white sheers. The entire transformation with paint, new trim, and a new ceiling fan was right around $200. Not too bad. 

Cedar Chest: Before and After Transformation

For today's Thrifty Thursday project, I want to show you a cedar chest that I was able to transform for a very small cost.
The chest had a very worn surface, and was missing some veneer on the lower leg part.
I liked the texture of the trim and the detail work. But I knew that whether I painted it or removed the finish, I would lose some of the detail.
Because of the missing veneer, I decided painting would be the best finish.
And because of this damage too...
First, I primed everything with a bonding primer. I like Bin 123 latex primer, but Kilz and Bullseye work well too.

Then, I coated it all with latex satin paint in a pecan color.
 Then, using latex glaze, I mixed some of a darker brown paint with the glaze and streaked it on. I kept a rag handy to wipe excess off.

 Be sure to streak with the grain.
 And on the detail areas, wipe some off to show contrast.
When it's all done, I will coat it with a few layers of poly. That could be water or oil-based. I also like to coat with a layer of Minwax finishing wax when everything has cured. It gives it a smooth, nonsticky finish.
You can do as much or as little on the glaze as you wish. I haven't had a chance to do the poly yet, so I'll post a pic when that's complete.

I had all of the paints in my stash of leftovers, so the project cost me nothing but time.

Old Book Turned into a Pumpkin, Fall Decoration

Its What Would You Do (WWYD) Wednesday. What do you do with old books?

Recently, I spoke for a women's event and gave a presentation on trash to treasure decorating. Here's a shout out to the women at Cornerstone Church in the Twin Cities!

For a craft session, one creative gal taught us how to make a pumpkin from an old book. How fun!

This one is made from an old hymnal. First, we ripped off the covers. That felt naughty. Then we started cutting the pages. Even naughtier. I had to cut a few pages at a time, but here is the finished shape.
It doesn't really matter how perfectly identical your pages are, as long as they are sort of similar. Then, I roughed up the pages a little...meaning I sort of crumpled them a little. Then using an ink pad, I rubbed a little burnt orange ink on the edges of the pages. And colored the spine with brown marker to look like a stem.
 And when I stood it up and fanned it out, it looked like a pumpkin. I glued on two silk leaves at the top.
I decided to put it on a shelf and have just half a pumpkin. You could rough the pages more to make it full enough to bring the two edges together and make a whole pumpkin, or use two books put together. 
 I put it on the mantle shelf.
What a fun trash to treasure project for fall! With different sizes of books, you can make all sizes of pumpkins. And at my class, some of the ladies spray-painted theirs with a light mist of orange spray paint to make them more festive. I decided I liked mine more white. If you cut them right, you could probably make apples from smaller books too.

What else have you done with an old book? Feel free to leave a link to your blog post about a T2T project with old books with the link gadget below. 

LinkWithin

Related Posts with Thumbnails