In an effort to make life simpler, content from Trash to Treasure Decorating is moving to www.michellerayburn.com.
You'll also find updated ideas on Facebook at https://www.facebook.com/TrashToTreasureDecorating.
Please consider following me on Facebook for Trash to Treasure Decorating ideas!
t


Fall Trash to Treasure Decorations
Before the snow flurries arrived in northern Wisconsin, which was ridiculously early this year, I decorated with some repurposed finds.
 I made some pumpkins from old books, and painted a pie tin with chalkboard paint.
 It's hard to see, but that Sedum is growing out of an old oil can. I filled an old milk delivery cooler with fall blossoms from a bush that needed pruning.
 The rusty wheelbarrow holds mums in an enamelware bathtub.

 An aluminum teapot filled with the remaining summer flowers.
 I filled an enamelware pot with fall blossoms. The pumpkin books are easy to make when you tear the binding off an old book, and round the corners of the pages. I fluffed and ruffled them to get the dimension, and to make it stand better.

I love the candle holder that fits in a wine bottle, or in this case an olive oil bottle. It's a great way to repurpose an old bottle.
Have a happy repurposed and upcycled fall!
I love the candle holder that fits in a wine bottle, or in this case an olive oil bottle. It's a great way to repurpose an old bottle.
Have a happy repurposed and upcycled fall!
Free on Kindle: The Repurposed and Upcycled Life
Today Only
Scouting for Junk in Princeton, Wisconsin - What Fun!
I attended a family reunion this summer near Princeton, Wisconsin. The town hosts a flea market every Saturday all summer, and crowds flock from miles around to the town square for the weekly festivities.
Venders sell their crafts and fresh produce while shoppers wander the jagged aisles looking for treasure. But Princeton visitors don't need to wait for Saturdays to come around to find some fantastic treasures.
I stopped in at two neighboring shops on the main thoroughfare through town and found a heap of fun stuff I would have bought if I had unlimited funds. If you're ever in Priceton, Wisconsin, I highly recommend you check out these two shops.
The first one is Needful Things. Check out Debi's Needful Things on Facebook to see more pictures of the wonderful projects in progress at the shop.


When I stopped in, this piece was in progress, and now it's finished:

I want it!
The other shop I checked out was one I stopped at several years ago when I was in the area. Huser Daddy Antiques has made some great improvements at the shop. I loved it before, but now there were some cool brightly painted items and the pile of treasures outside has been organized and arranged. Love the changes! Find out more about the shop at the Facebook page for Huser Daddy Antiques and have fun looking through the photos.


If only I had unlimited funds....
What fun it is to stop in local resale shops. The next time you're exploring Wisconsin, be sure to check out Princeton...any day of the week. But especially on flea market Saturdays.
Thanks to the shop owners for letting me scout around. I'll be back again, for sure!
Tips for Decorating with Yard Sale Finds
I recently wrote a piece for Queen of the Castle Magazine titled "Upscale Junk: Tips for Decorating with Yard Sale Finds." I thought I would share with my T2T readers.
Flip over to page 54 to read my article, but be sure to check out the rest of the magazine too. It has a lot of fun content.
Flip over to page 54 to read my article, but be sure to check out the rest of the magazine too. It has a lot of fun content.
Cheerful Quilt Puts the Finishing Touches on Bedroom Re-do
When I redid the paneling in my bedroom, I knew that I wanted to replace the quilt, but my new one was only half-finished.
So, my 'after' pictures looked like this...with a quilt that was outdated and need some repair. Not exactly what I had in mind.
 Yeah, that was from back in my mauve and sage days.
It's finally done! I love how cheerful the new quilt is. This was made from all of the leftover fabric I had around from some other projects, like tote bags and purses.


So, my 'after' pictures looked like this...with a quilt that was outdated and need some repair. Not exactly what I had in mind.
It's finally done! I love how cheerful the new quilt is. This was made from all of the leftover fabric I had around from some other projects, like tote bags and purses.

Tie and Belt Rack from Old Piano Parts
Here's a quick project from old piano parts. My dad used the pegs from inside the piano to make these tie and belt racks that can hang in the closet. It could also be used for jewelry or other decorative items. He drilled holes for the pegs in some of the scrap wood from the piano.

Repurposed Piano Parts - A Beautiful Sofa Table
I grew up playing piano on a huge upright grand. If you've been following my recent posts, you've seen some of the projects my dad made from that piano when it was time to retire it from use.
The top of the piano was a long board with a hinge so that the piano could be tuned. My dad used that board, with the attached hinge and created this sofa table. He purchased the repurposed legs from a local salvage shop. Then, he stained them and a few other repurposed pieces to match the piano color.


The top of the piano was a long board with a hinge so that the piano could be tuned. My dad used that board, with the attached hinge and created this sofa table. He purchased the repurposed legs from a local salvage shop. Then, he stained them and a few other repurposed pieces to match the piano color.
Another Table from a Repurposed Piano
In another segment of my repurposed piano series, here is the end table my dad made for me. The legs are from original parts of the piano, and he used some other salvaged wood for part of the shadow box to contain the piano keys. You'll notice it looks different from the one he made for my sister, since each uses different parts of the piano.
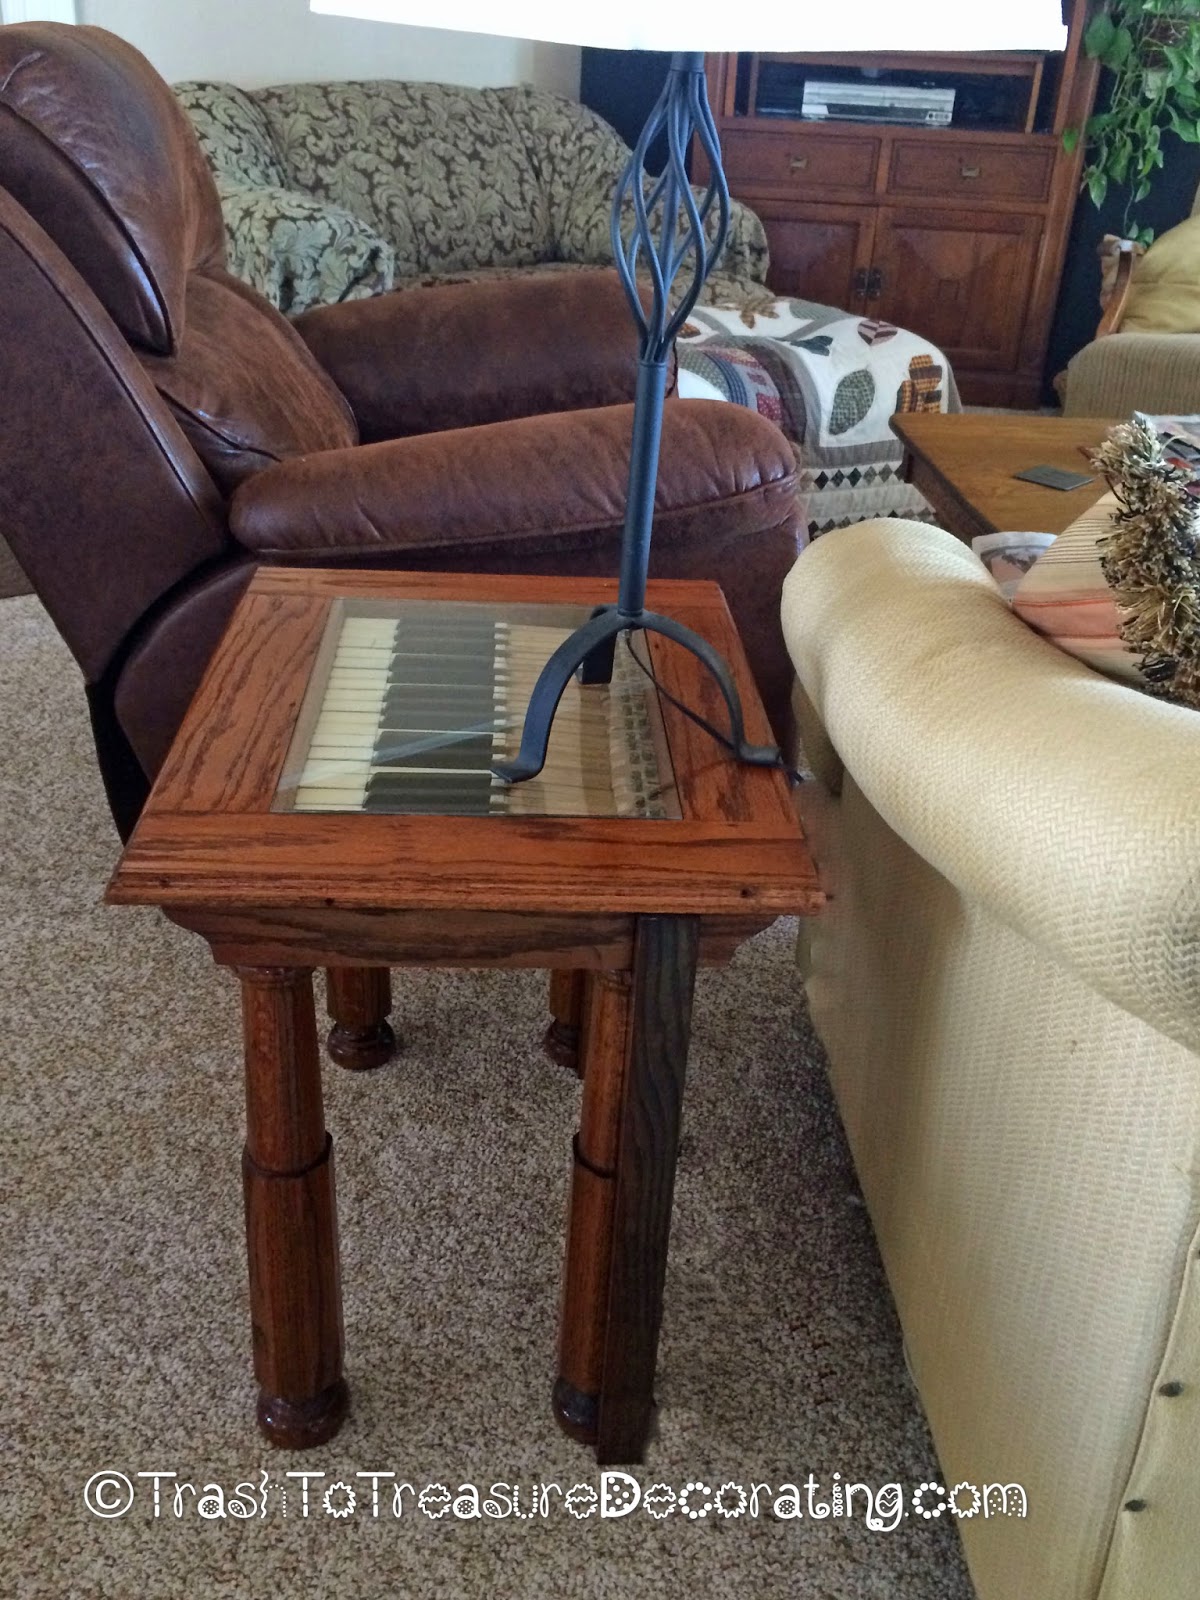
 I learned to play piano on these keys. I remember the broken ivory on that one A key.
The old piano looked a lot like this one I found on the internet, except it was more ornate.


 Isn't it cool how the keys were all numbered? To get them to fit right in the table, they couldn't be reassembled in perfect order.
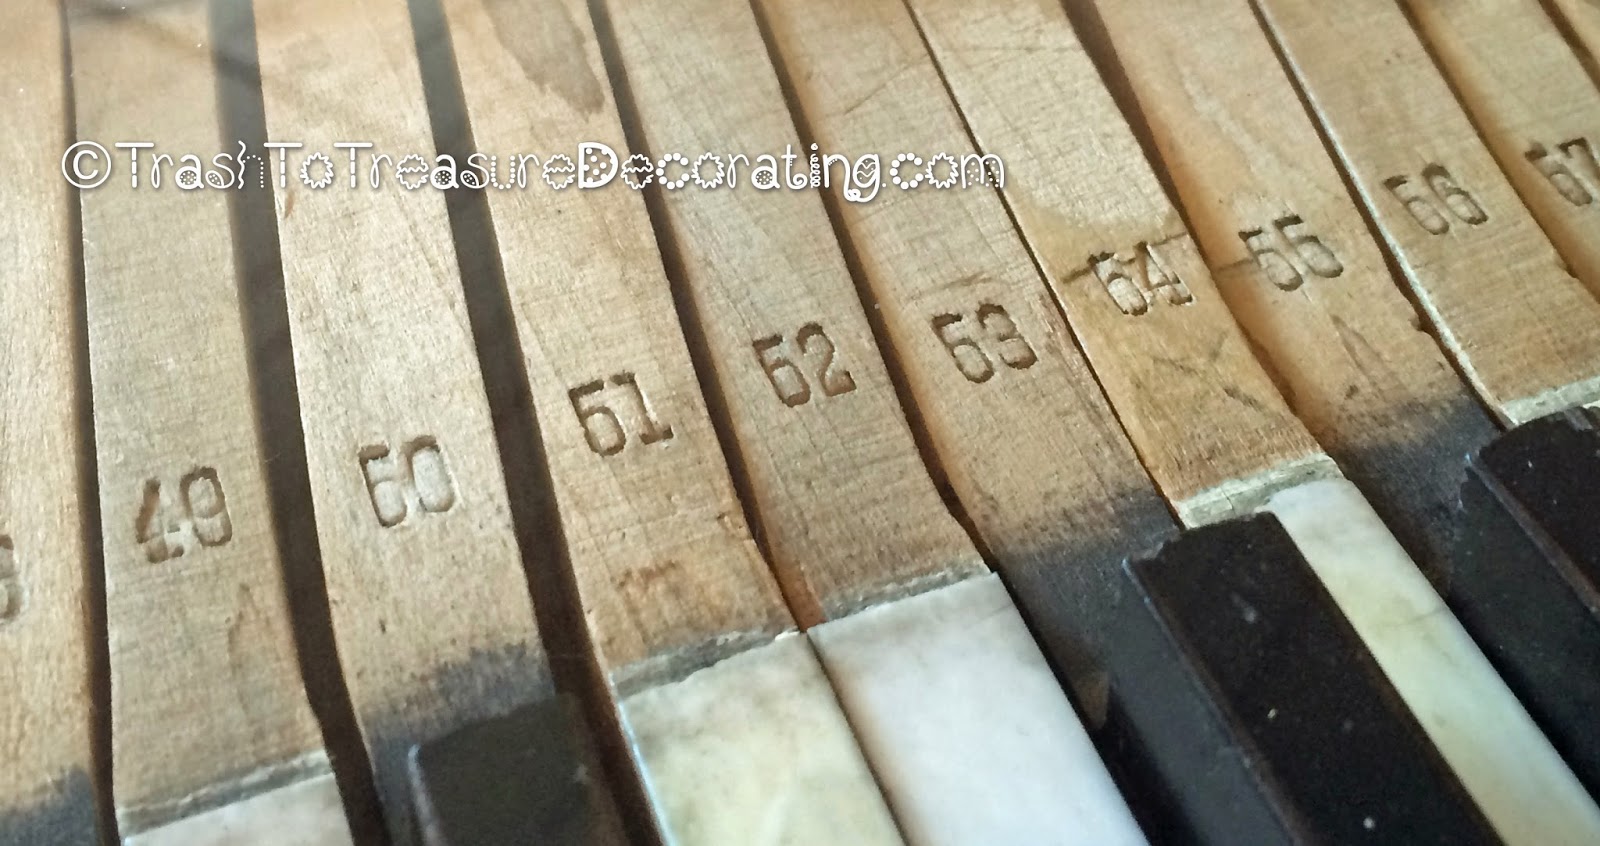 Watch for more piano projects coming this week!
The old piano looked a lot like this one I found on the internet, except it was more ornate.
The table legs are made from the front let, and also from the half-leg that was there for decoration on the body. My dad cut the back legs for my table from the body of the piano.
More Uses for Piano Parts
Recently, I featured a table my dad made from the parts of an old piano. This week, I'd like to show you a few other projects he created. The part of the piano where music would usually rest is a beautiful piece of wood with ornate trim. He turned it into a wall feature to be used as a photo ledge.


 I spent many hours with music spread on that easel. It's nice to keep it all in one piece in its retirement days.
What to Do With an Old Piano - Upcycled Project
I am so excited to show this project! My dad has gotten on the trash to treasure bandwagon and started creating his own projects. After trying to get rid of their big upright grand piano, my parents decided the only thing they could do was disassemble it and use the wood for projects.
I felt terrible about it, because it was the piano I grew up playing and it was still in working condition. But I had no place to put the beast! And neither did anyone else. So, imagine my happiness when my dad came up with this!
He made it for my sister out of the wood from the piano, and he recessed the keys in sort of a shadow box. This photo doesn't include the glass, but he had a piece of heavy duty safety glass cut for the top that fit perfectly in the inset groove.

Since the above table is for my sister, he's working on a second one for me. Yay! Notice how he reused even the foot pedals.


Guest Room Makeover with White Pickle Glazed Furniture
When we moved out of our room and turned our son's former room into a master bedroom, we gained a guest room. I turned our old tiny bedroom into a guest room. When we lived in it, we could barely walk around the queen-sized bed with our two dressers in the room. Now, with a smaller bed I was able to create a pleasing and inviting arrangement.


I had before and after photos of this dresser. But I seem to have misplaced them. Or deleted them. Oops. I painted them white, glazed with antique brown, and sealed with paste wax.


Creative Kitchen Sink Splash Guard
Have you ever considered how to prevent some of the water splashing around the kitchen sink. Outside of just skipping washing dishes, that is.
When I repainted the kitchen, I had to repair some water damage above the sink, and I hate the puddle that forms when water runs to the side. So I came up with a pretty solution.

Piano Bench Made into Upholstered Footstool
Once upon a time, I bought this piano bench at a yard sale for $1. I quickly stapled some fabric over the existing seat and used it for a while at the piano. But, then I upgraded to a nicer bench and put this one in storage. Until recently. See how lumpy it looks? I fixed that.


Subscribe to:
Posts (Atom)
LinkWithin
